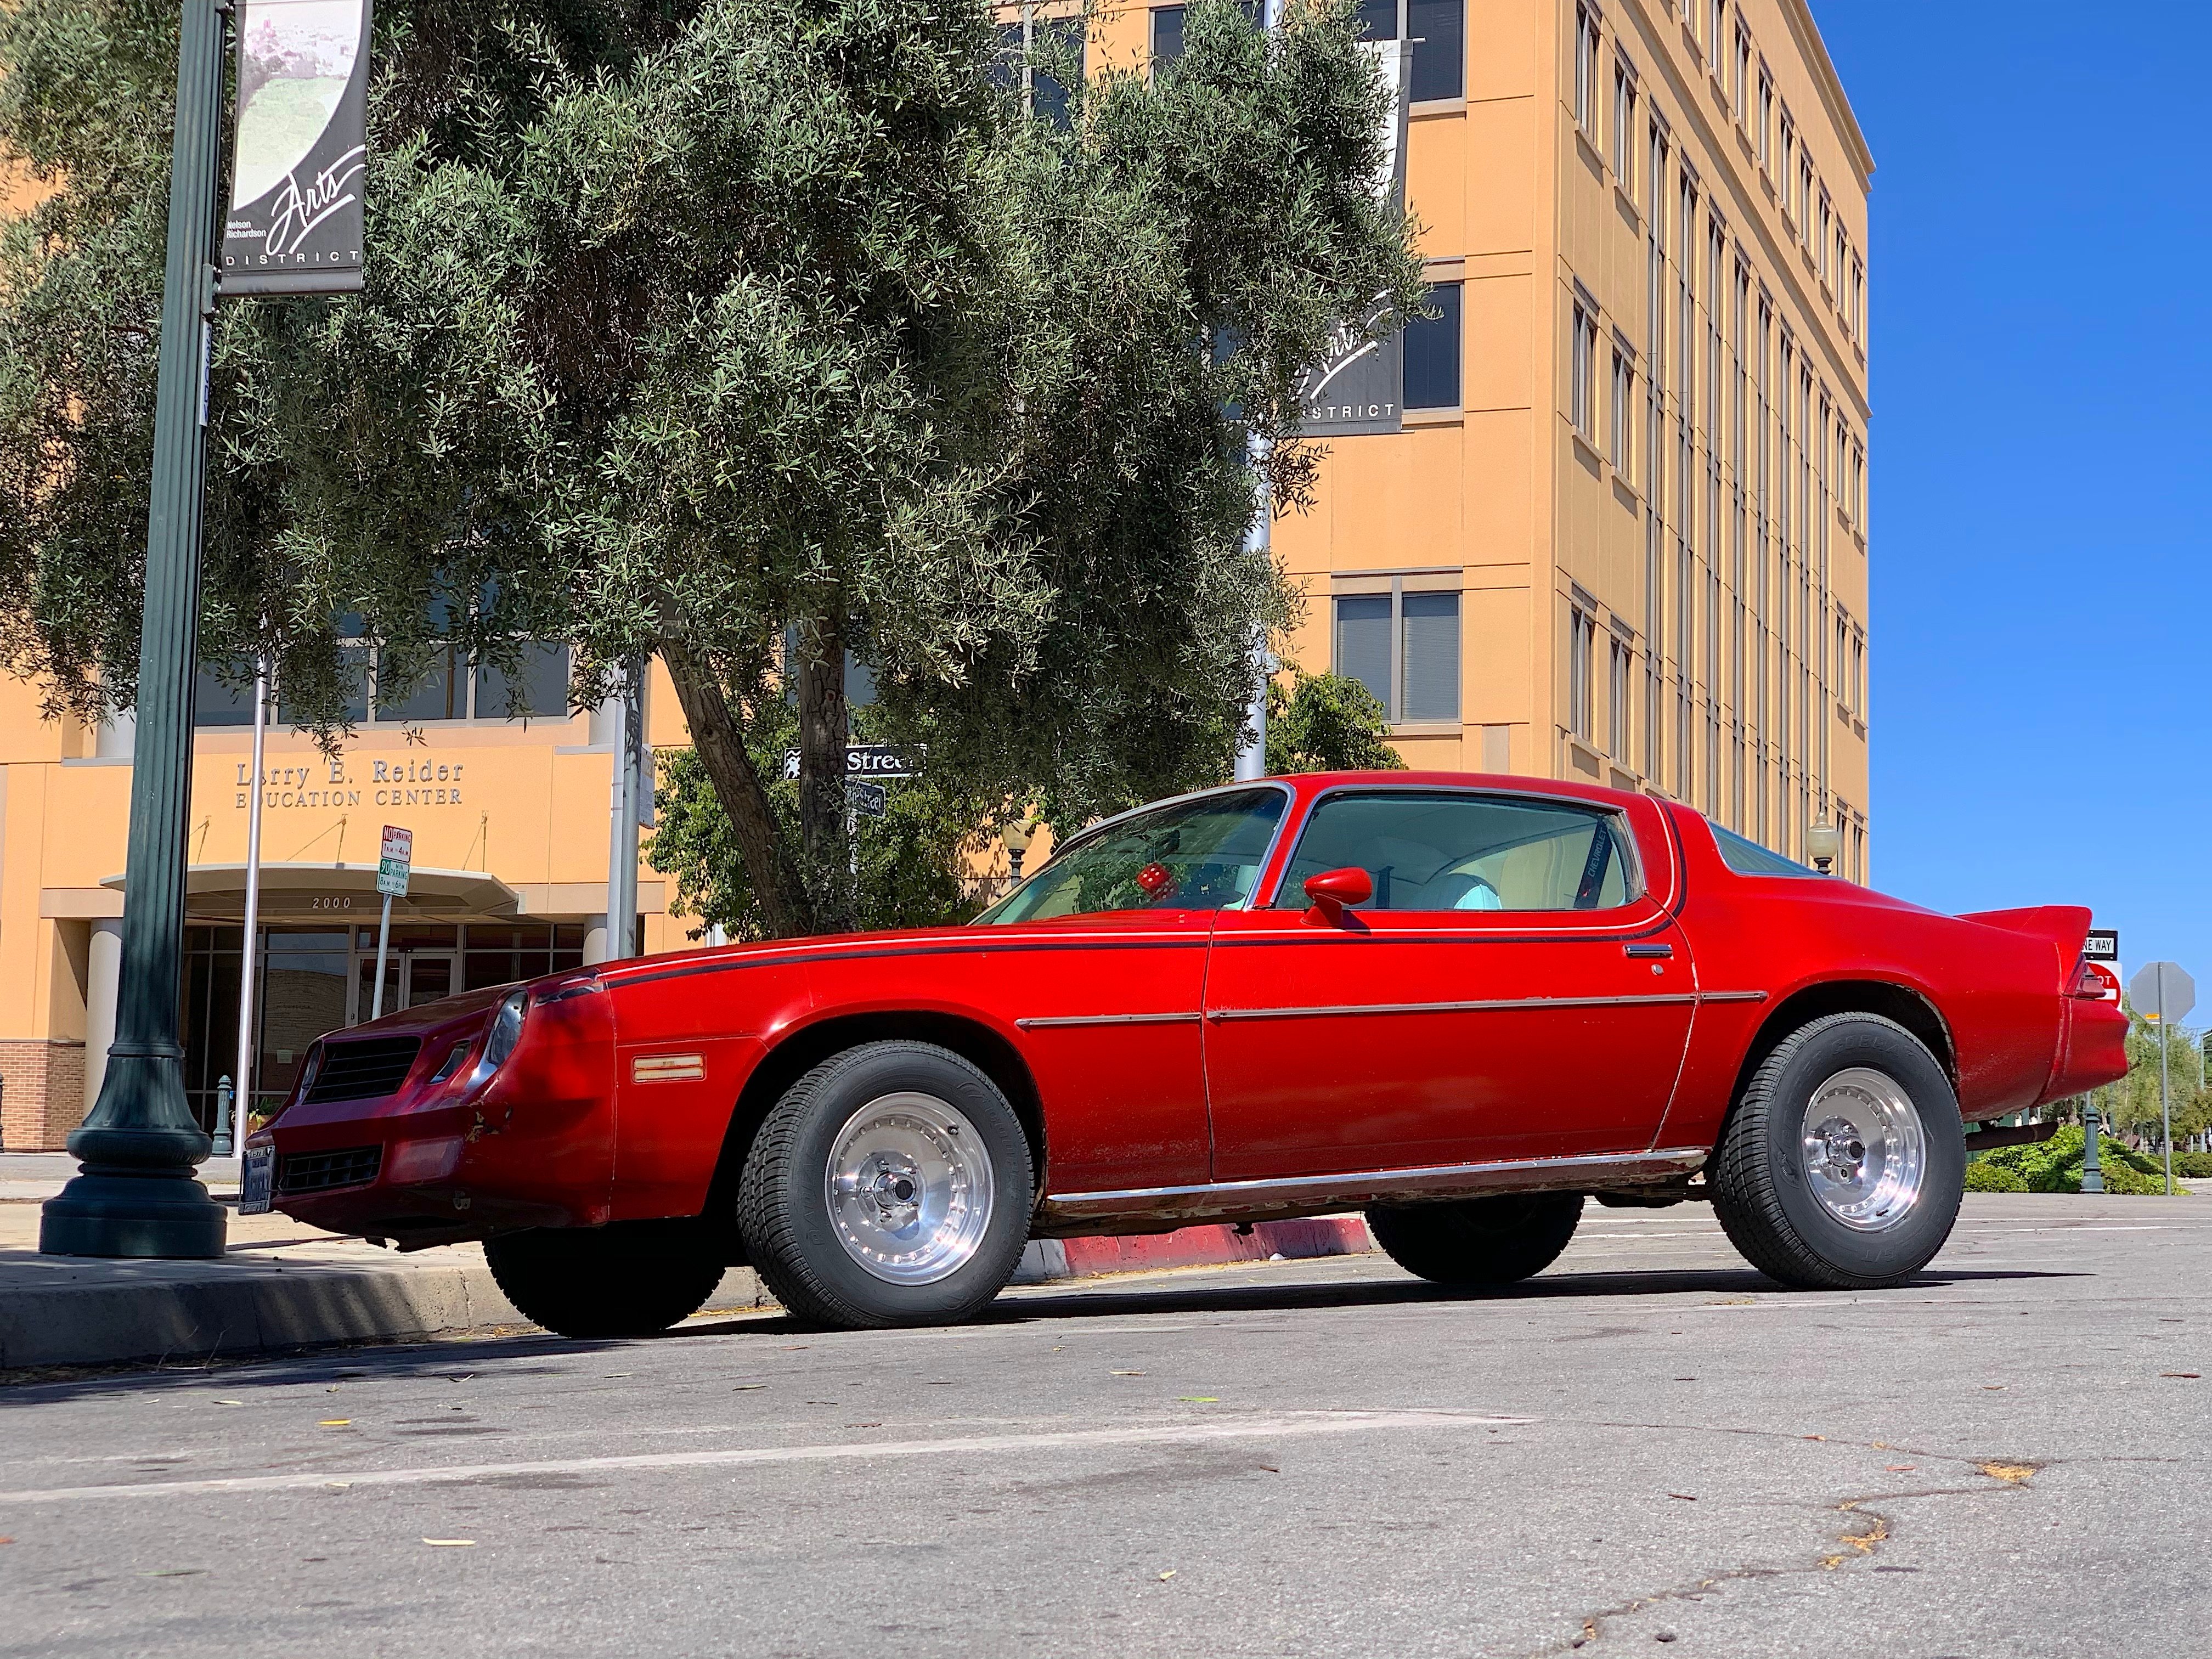
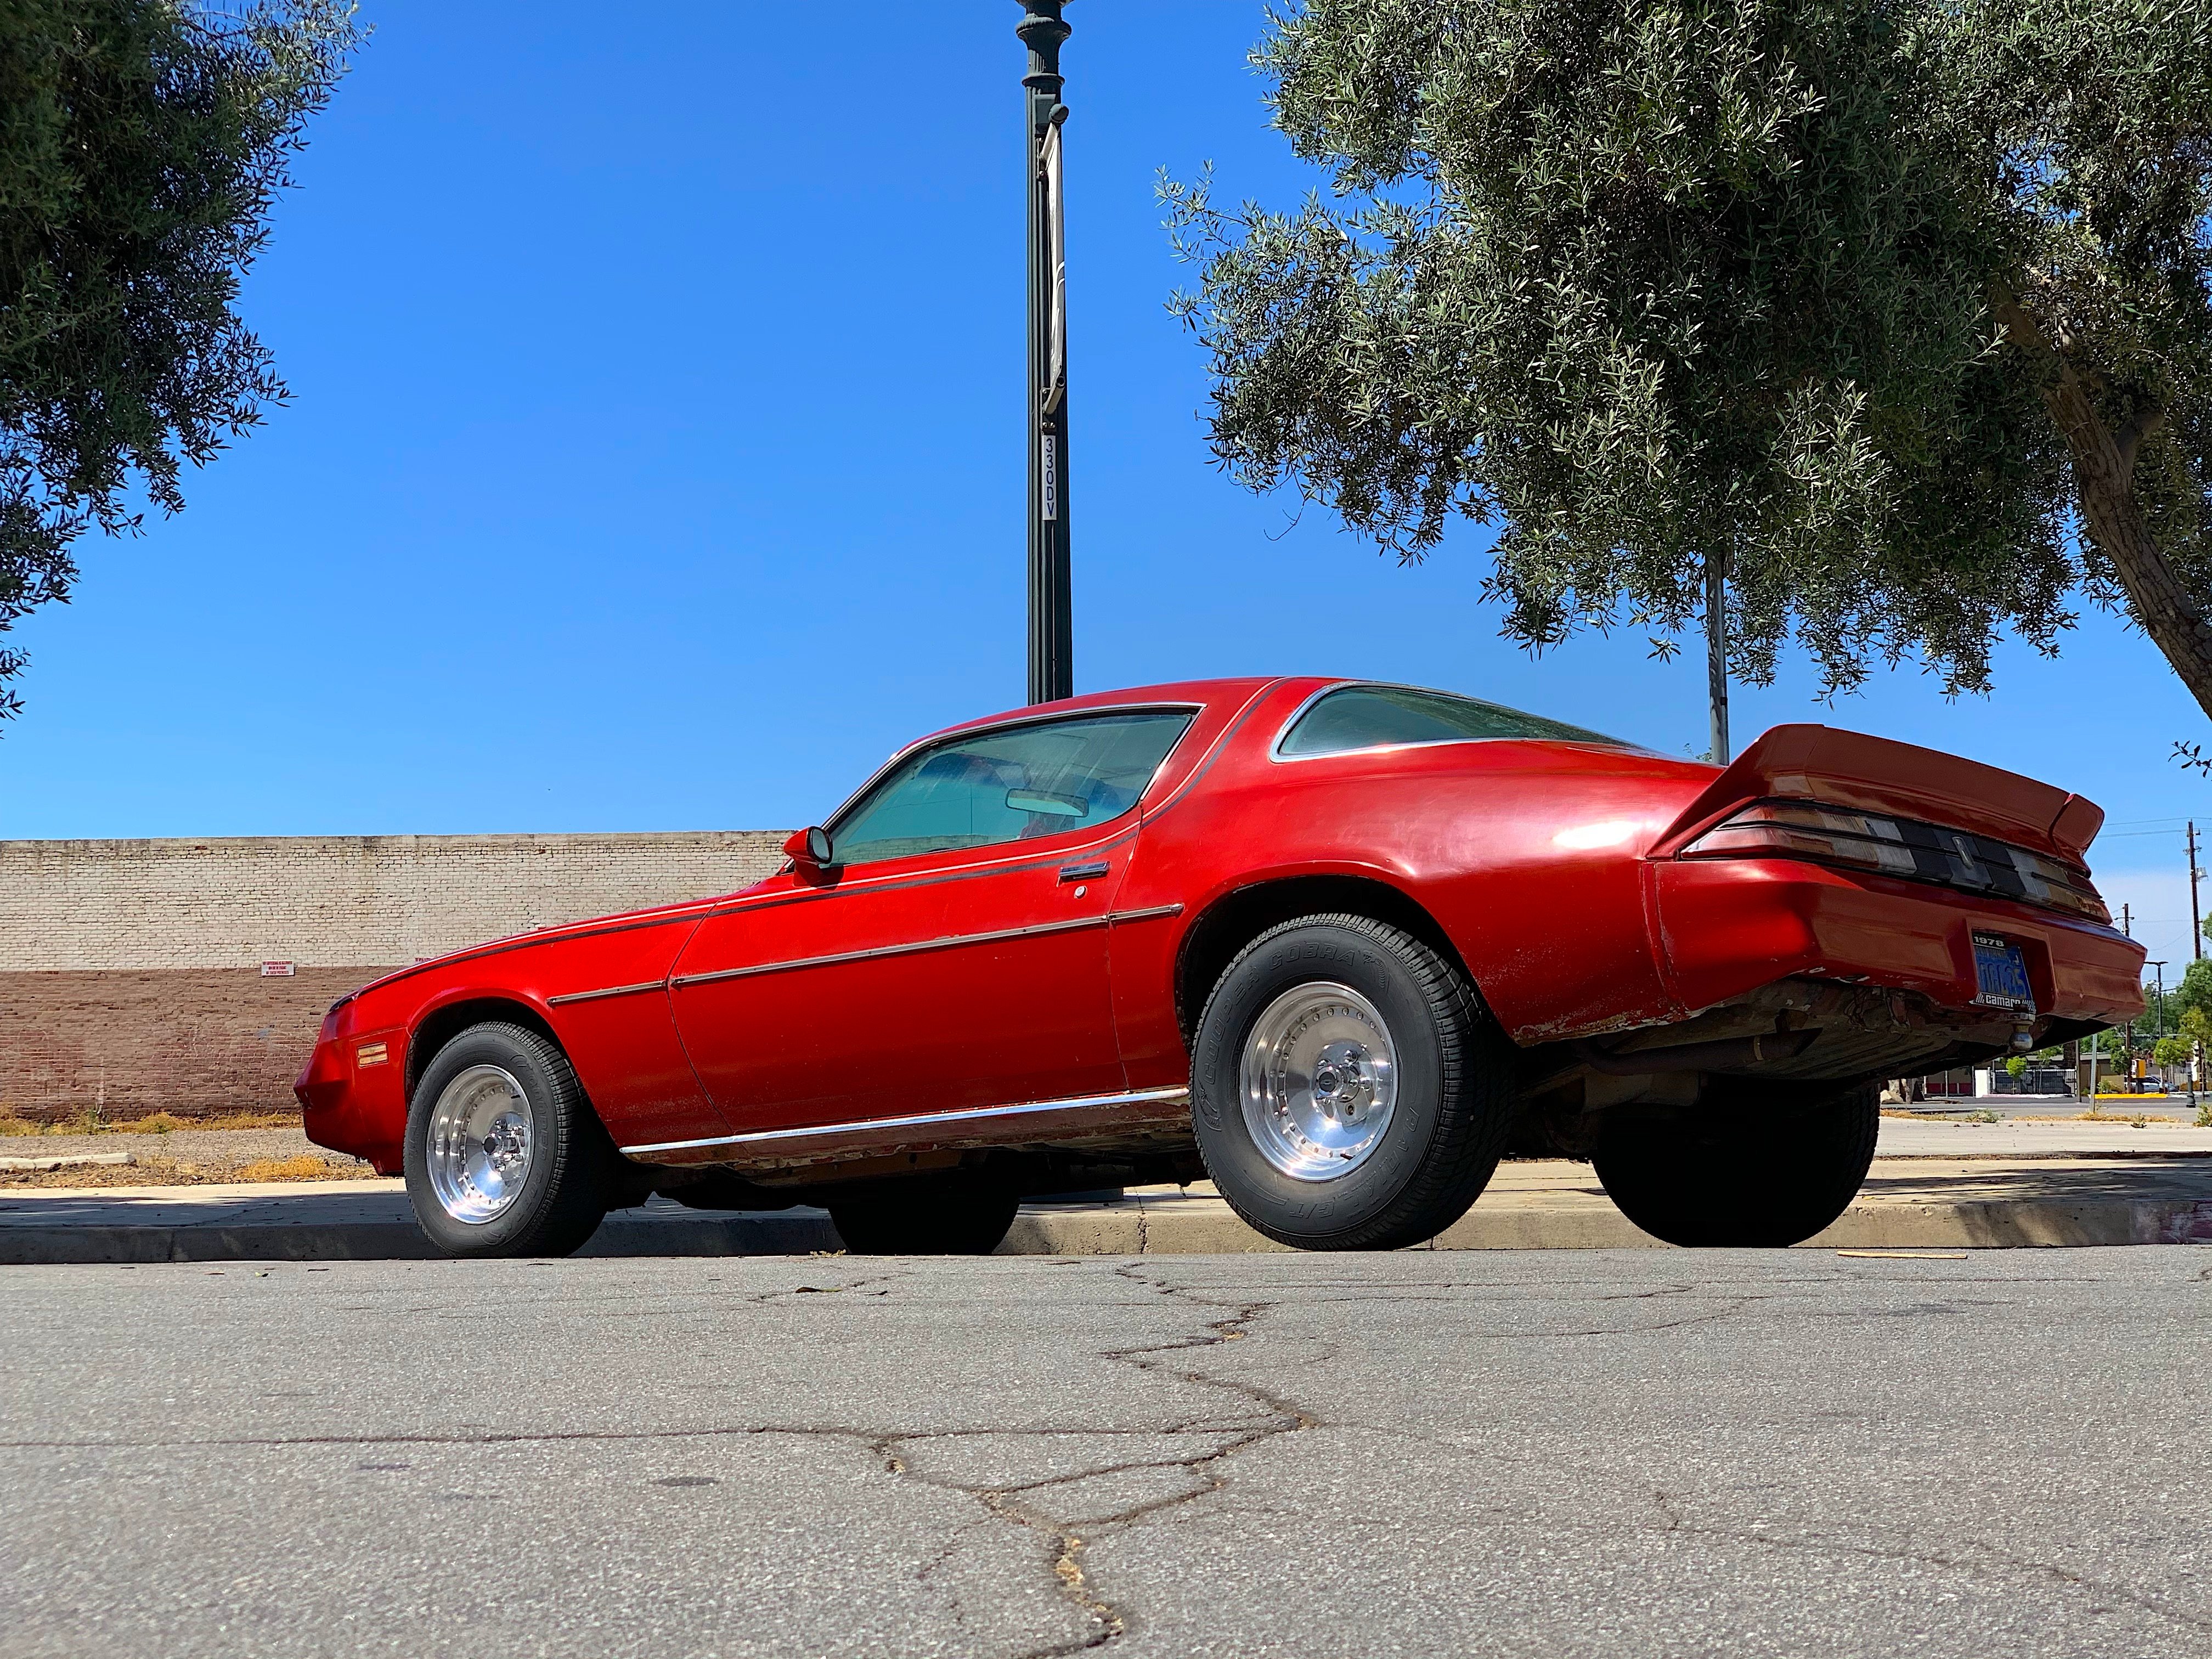
Ever since I can remember, I’ve always been around beautiful cars. Whether it was my dad’s ’68 Firebird, my mom’s ’66 Mustang, my brother’s ’72 Monte Carlo, or my boyfriend’s ’68 Mustang, I have always had an appreciation for classic cars. So you could understand my family’s excitement when I said I finally wanted to join the club. Sight unseen, I trusted my brother’s expertise and handed him the cash to purchase my 1978 Chevrolet Camaro. It was rough around the edges and the interior was shot to hell, but it was still, love at first sight.

After a quick wash and wax, it wasn’t too bad…from about 25 feet anyway.
Now, despite my love for them, I’ve never actually worked on a car. I’ve always been a passenger, never a mechanic. Don’t get me wrong, I’ve built the occasional IKEA shelf, but the giant undertaking of restoring a classic car is a much more daunting task.
What do you do first? Interior? Exterior? Under the hood? Frankly, It didn’t matter where I started, because everything needed some love.
I figured it made sense to start at the front of the car, and after doing some research, I found radiators are not only important for the mechanical health of an automobile but easily replaced on most cars.

Sometimes it’s hard to know where to start with a project. I elected to start at the front with the cooling system. It’s an upgrade with the added benefit of creating more room for the V8 swap I have planned.
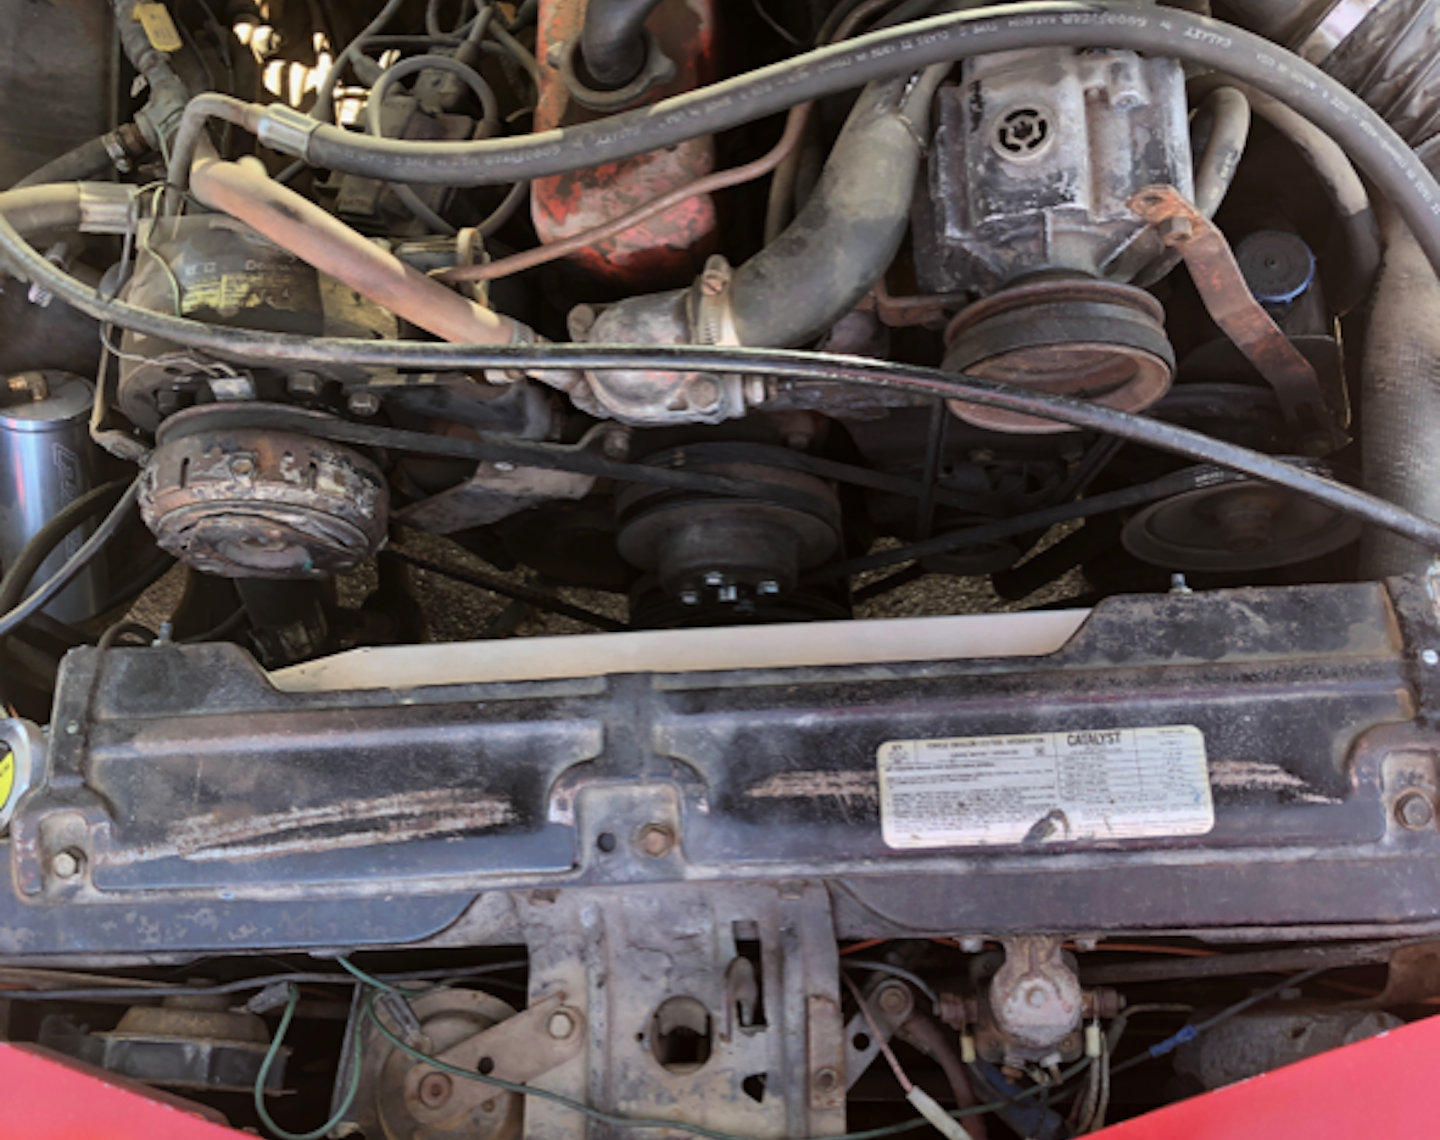
The existing radiator was much like the rest of the car – dirty, large, and outdated. The original radiator came with three separate parts I needed to replace. The outdated radiator and fan shroud took up more room than necessary, and the overflow tank looked more like a milk jug that had no business being under the hood.
I wanted to find a radiator that was going to give my car a modern look, while also creating space under the hood for the future V8 powerplant.
That’s when I found the Proform Slim-Fit Radiator. Its slim design and the all-in-one fan, shroud, and radiator is exactly what I was looking for, especially since everyone was screaming “LS SWAP!” at me – whatever that means. The slender 4-inch-total thickness was what really sealed the deal for me, since I knew I’d need the space later on.
Proform’s Slim-Fit Radiator also has an adjustable knob [thermostat] so you can choose at what temperature you want the fan to turn on. Proform’s website also promised easy installation, which was a huge selling point for me.
Another interesting design feature of the Slim-Fit Radiator is its third-tank design, which allows for complete coolant flow through the unit. They accomplish this using “state-of-the-art” brazing processes. In doing so, they have found it minimizes potential leak points. Not only that, but having the fan motor mounted on the inside of the Slim-Fit’s core creates a design that’s 40-percent thinner than most designs out there.
Out With The Old
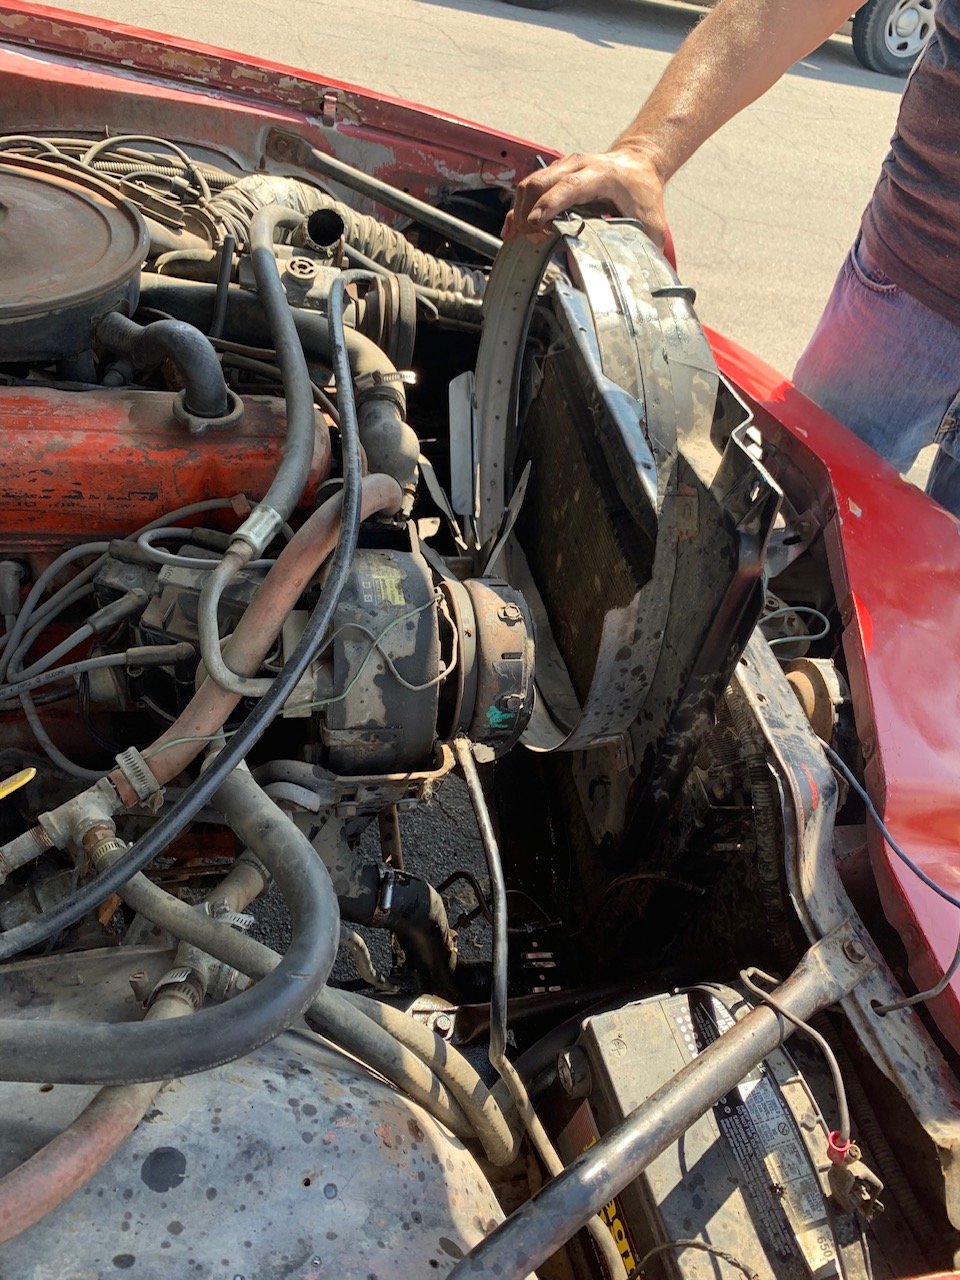
The first thing we needed to do was disconnect the battery, which is a very important rule I learned before starting most projects. I guess all my experience putting together IKEA furniture actually came in handy. Most of the first steps were just unscrewing fasteners and turning a few wrenches. We quickly had the fan shroud, clutch fan, and radiator out of the car.
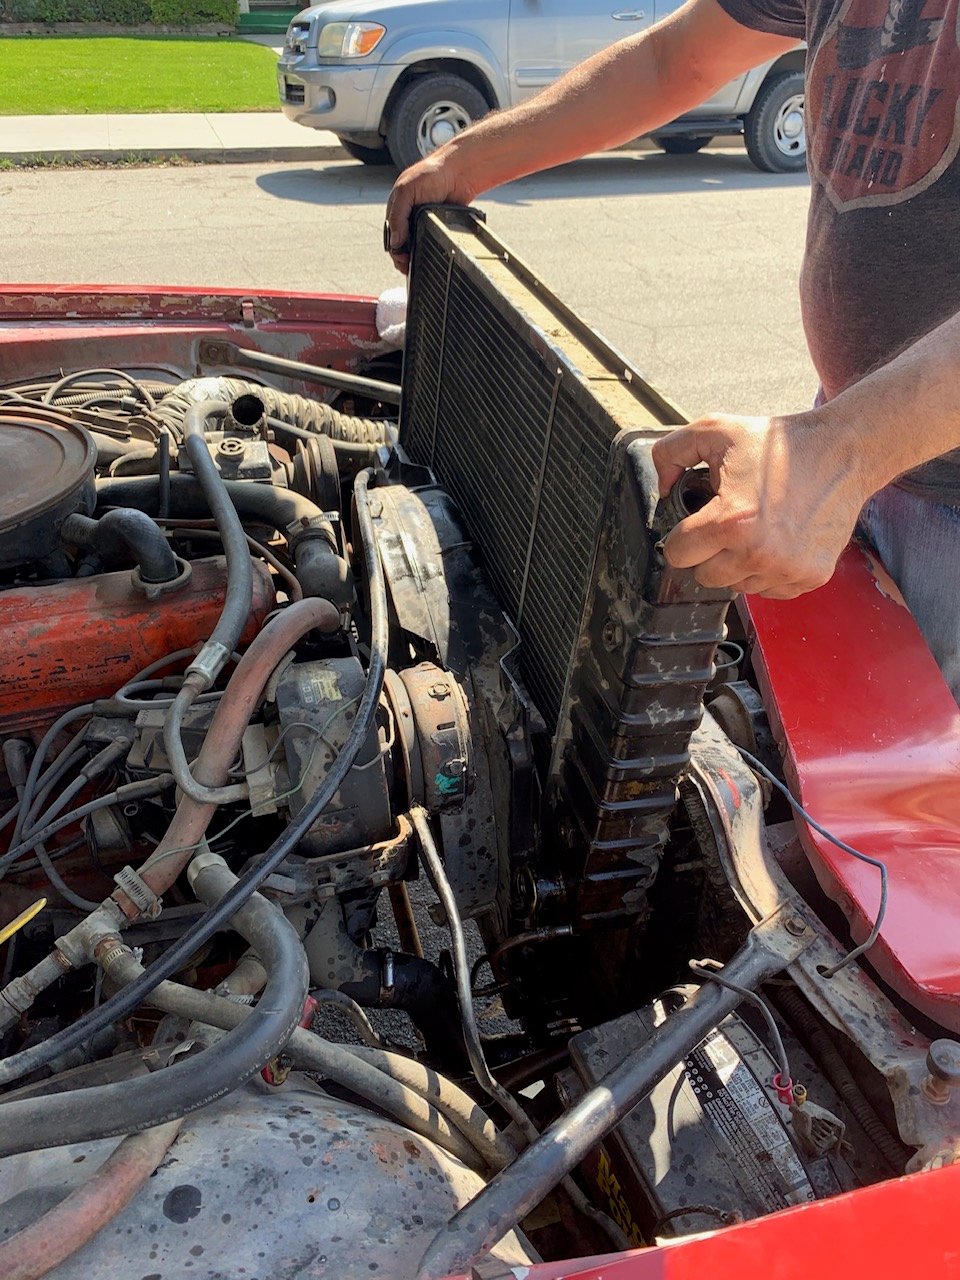
After disconnecting the upper and lower radiator hoses, we removed the top plate, transmission lines, and radiator.
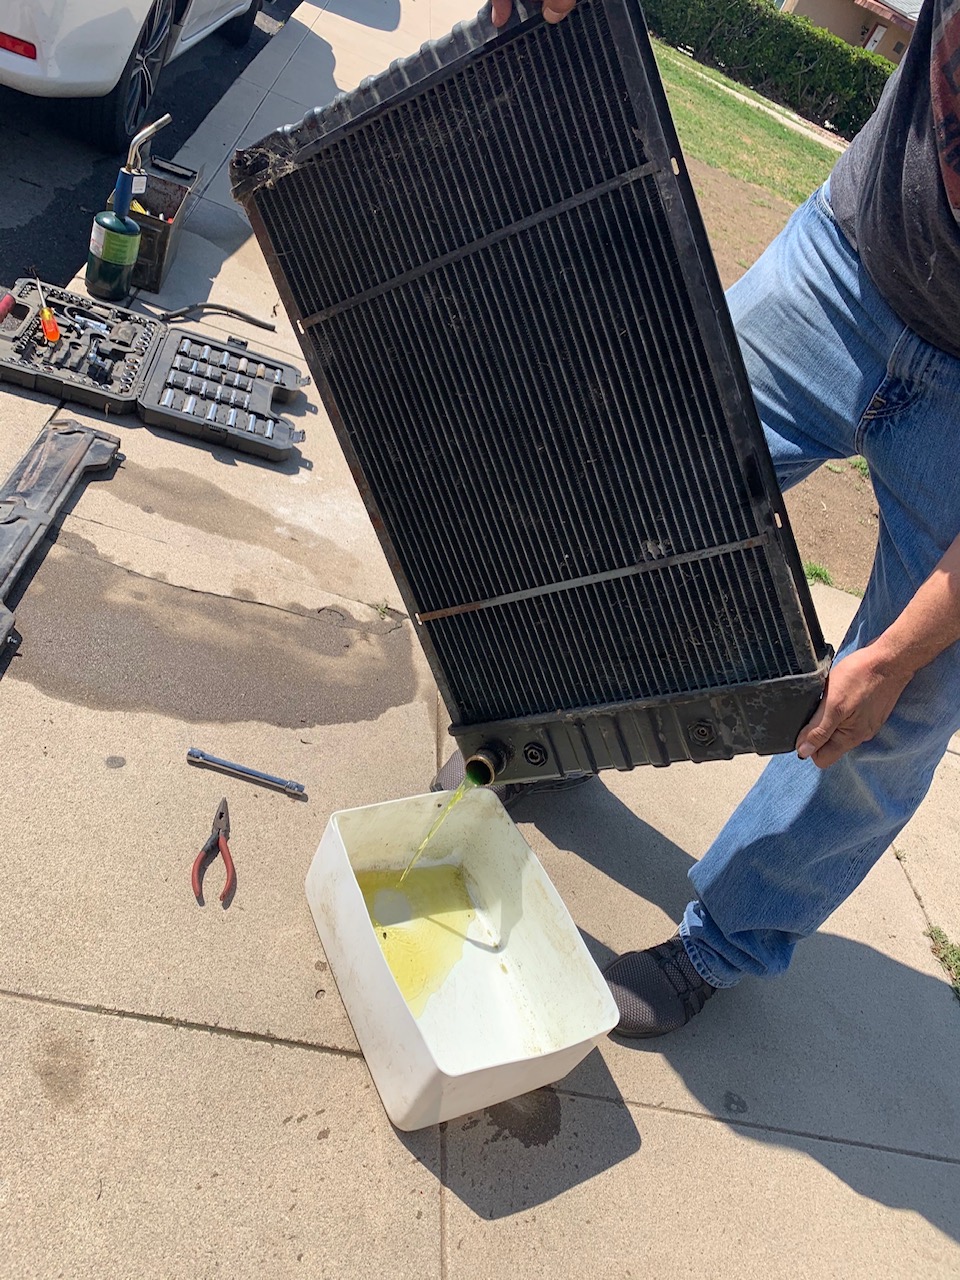
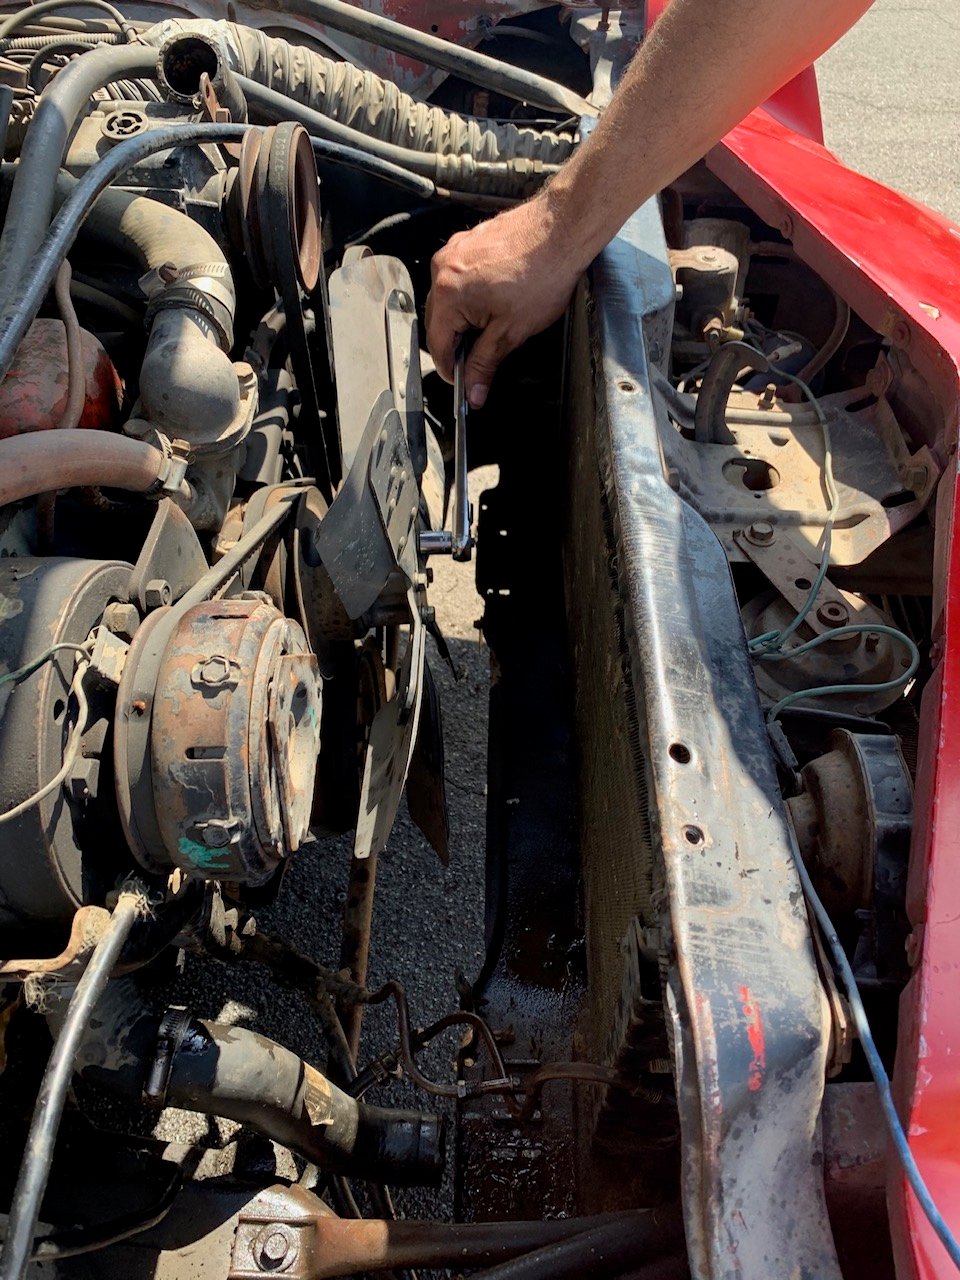
We drained the old fluid, removed the shroud, unbolted the fan, and it left us with a lot more room for that LS Swap everyone keeps telling me I should do.
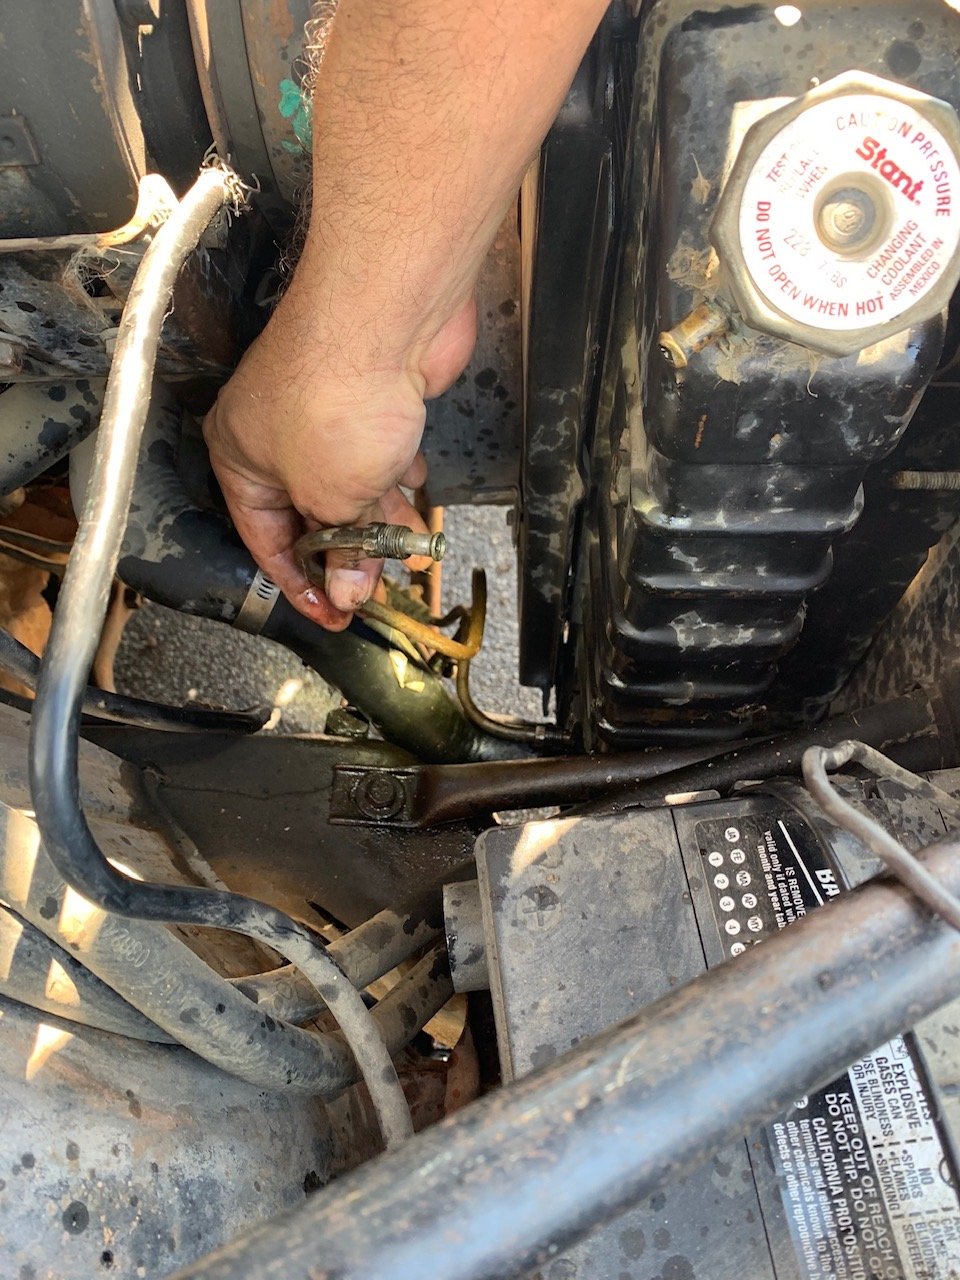
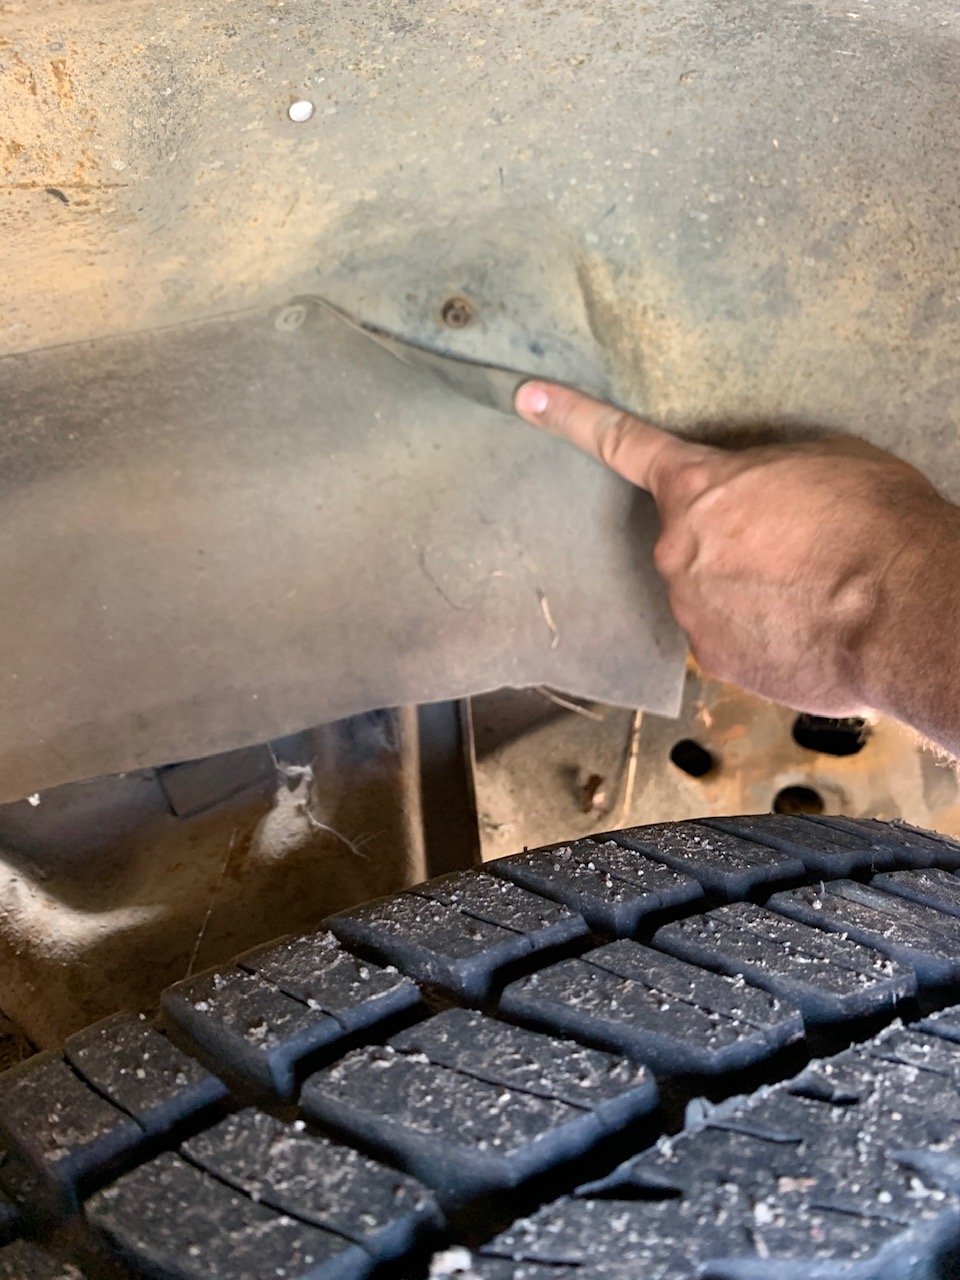
Next, we removed the overflow canister by locating the bolts under the right front fender. The removal of which allowed the overflow canister to come out with a little wiggling.
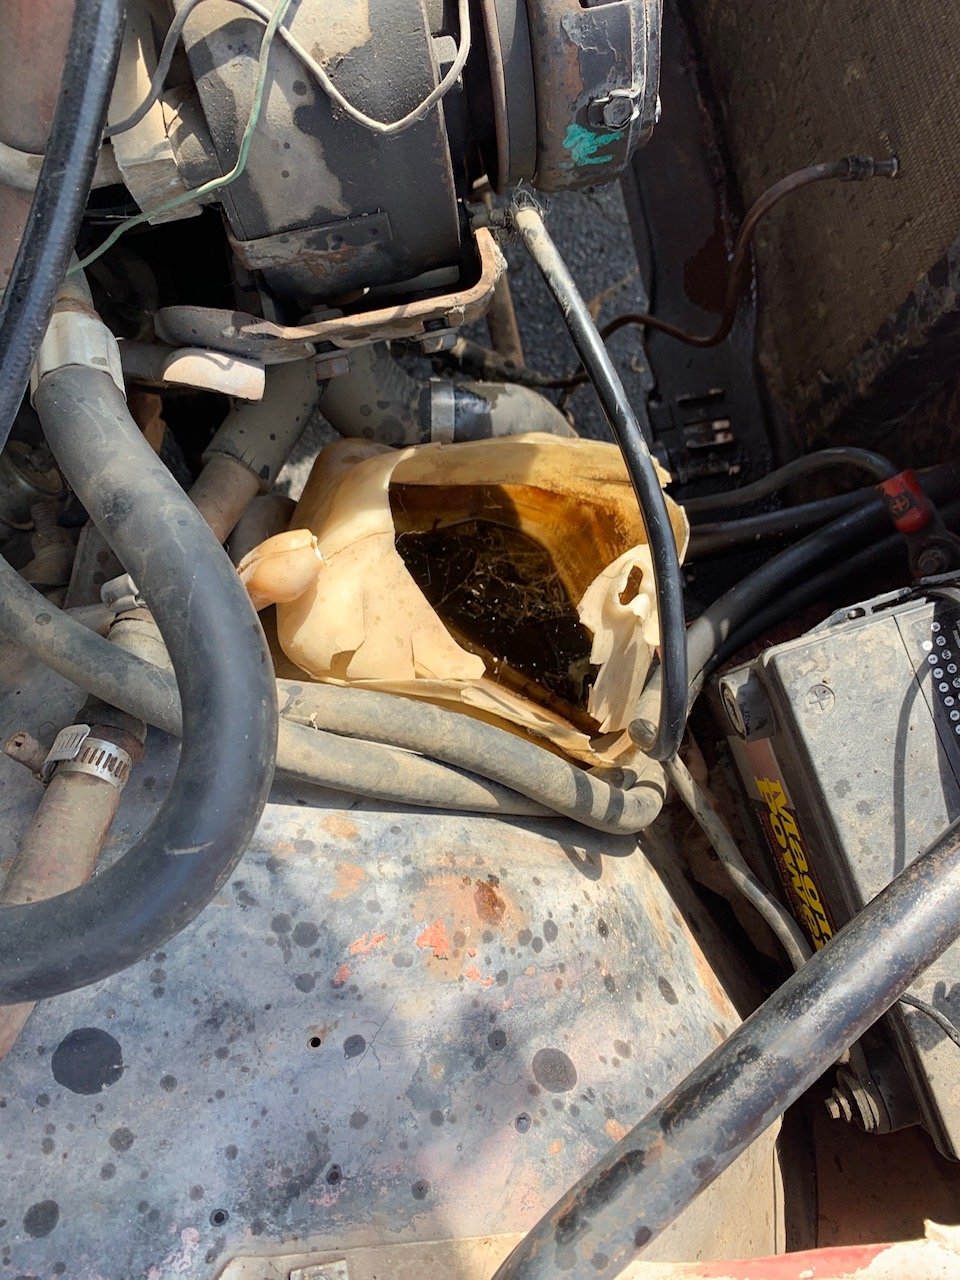
As you can see, the original overflow canister was due for replacement.
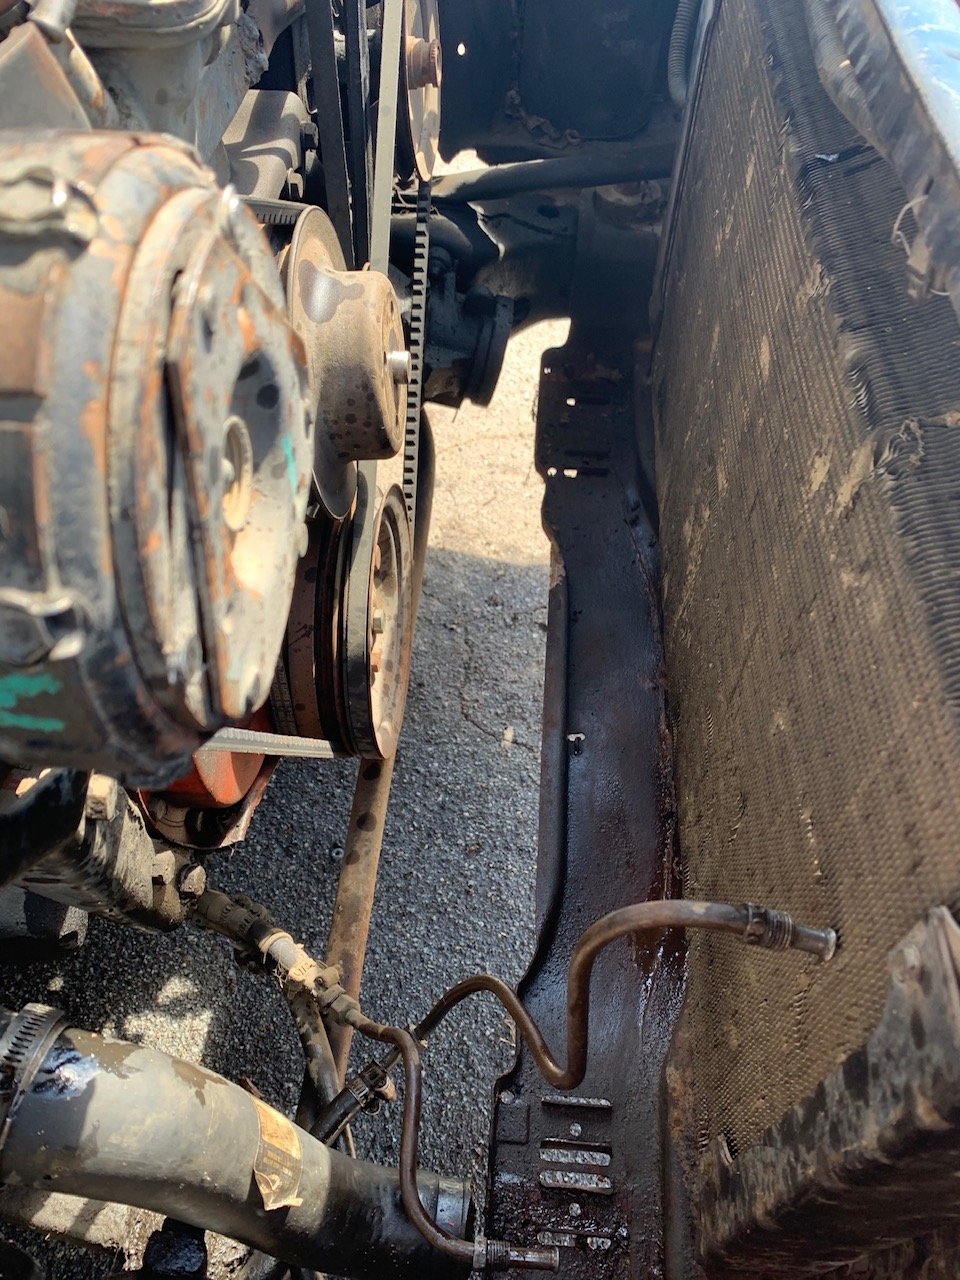
Removing the overflow canister, radiator, and fan shroud showed just how much space the clunky old cooling system was taking up. I was so surprised at how quick and easy the radiator removal process was. It only took about 20 minutes.
Unboxing The Slim-Fit Radiator
Next was my favorite part – the unboxing process. The Proform Slim-Fit Radiator was shiny and “racey”! The fan shroud was built into the radiator, making it all one convenient piece. Along with the radiator was the wire bundle we’d need later, and the instruction manual, which included instructions for chassis cradle radiator support models, side bracket models, LS conversion model, and automatic transmission models.
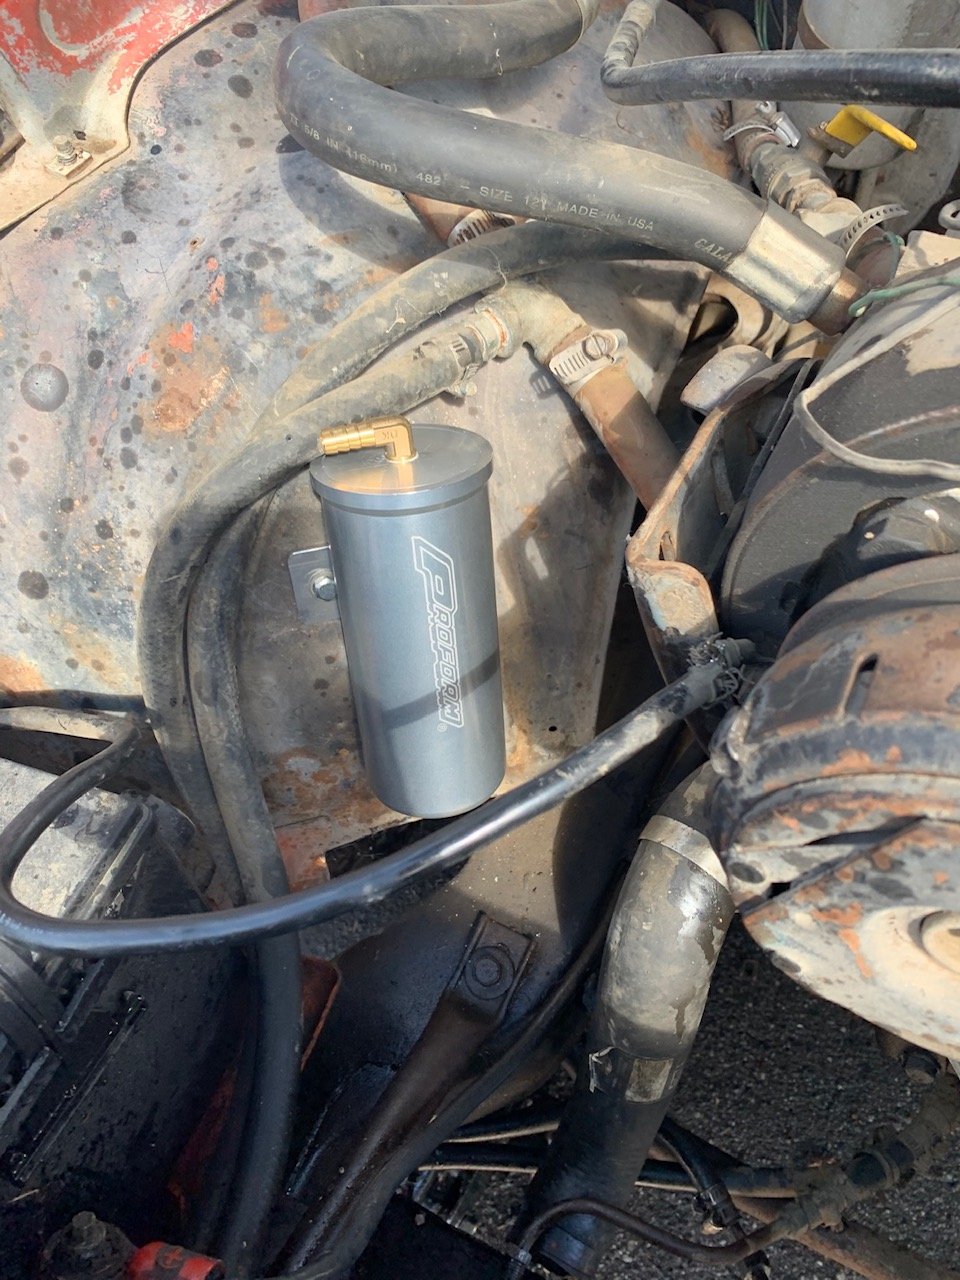
In a separate box was the Proform Universal Aluminum Overflow Can. You’ll notice the much smaller and sleek looking design in comparison to the outdated milk jug we previously had.

In With The New
The first issue we ran into during installation, was the new overflow canister would not fit using the same holes from the original canister. No worries, though. We located an area on the front right fender to mount the new canister. I made sure it wasn’t too high or low, so as to allow room for the overflow and return lines.
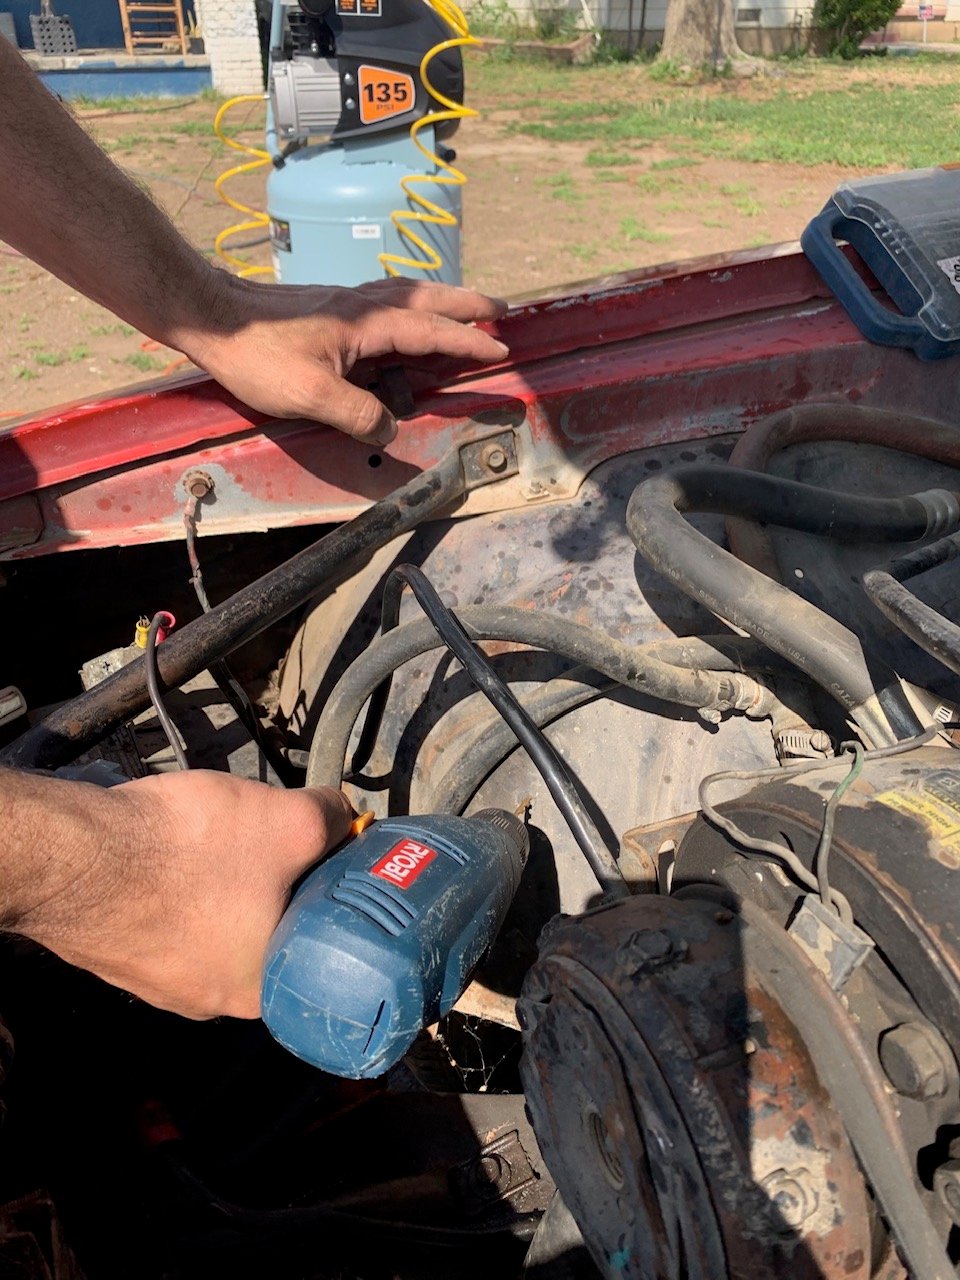
After marking the location for our new overflow reservoir, we drilled a couple of holes for the fasteners, and it was in.
Now the exciting part – setting in the new radiator. Making sure no loose wires or tubings were in the way, we gently dropped the new radiator into its new home. Check out all of the extra space we now have.

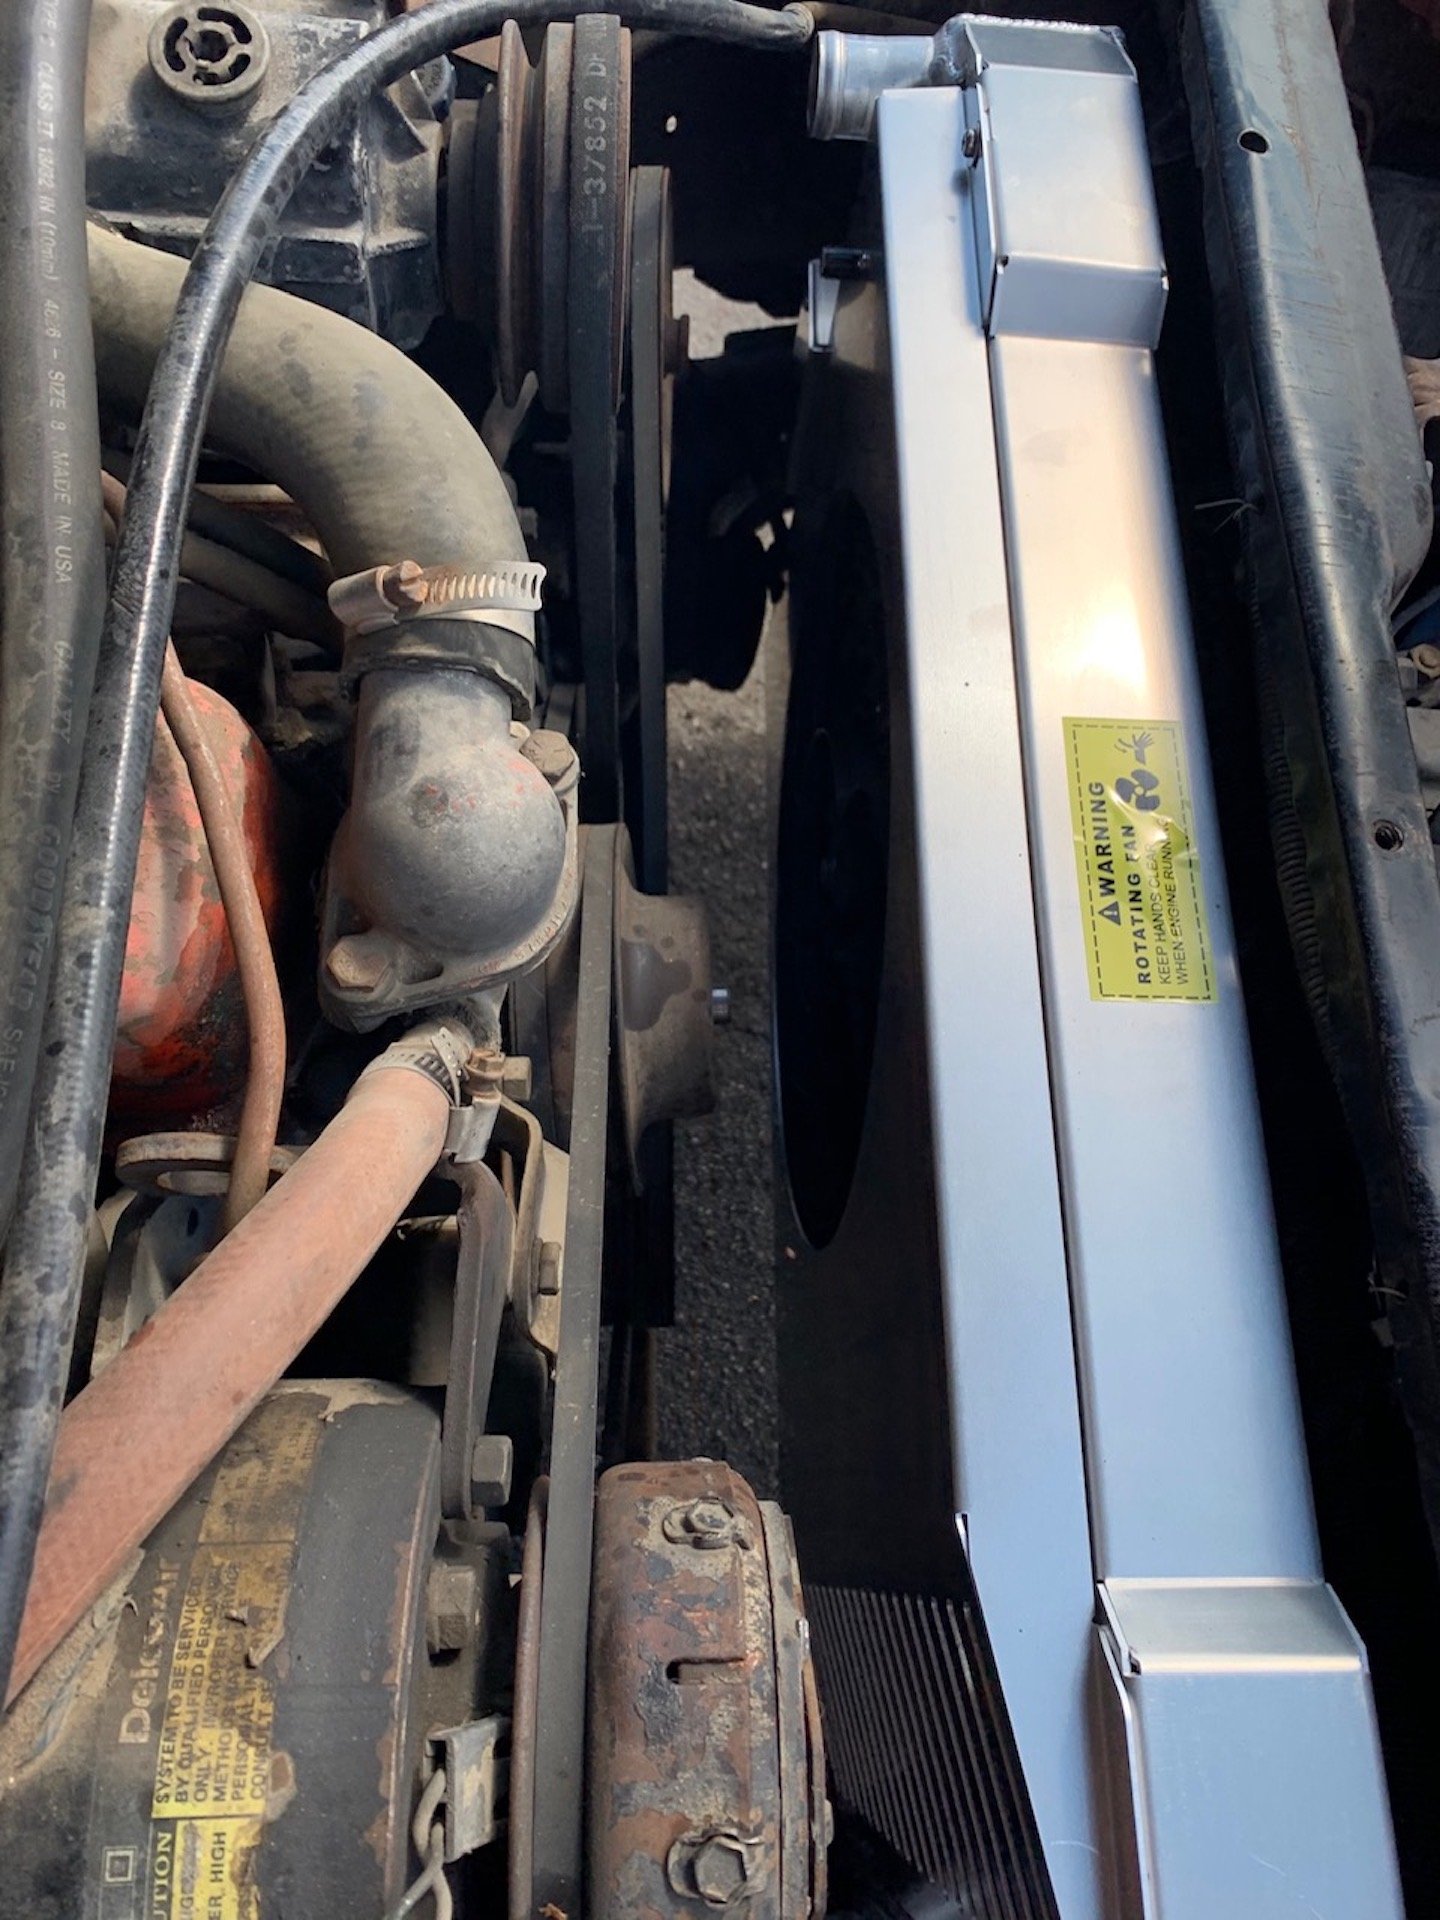
The new Proform Slim-Fit Radiator made the car look fantastic, but we did run into a snag. Because of its smaller, slim design, the Slim-Fit radiator didn’t quite match up with our original radiator cover.
We remedied this by using angled brackets we found at the hardware store. We used the same mounting locations and hardware from the radiator cover to hold the brackets in place. This secured the radiator in place while allowing us to use the original radiator cover.
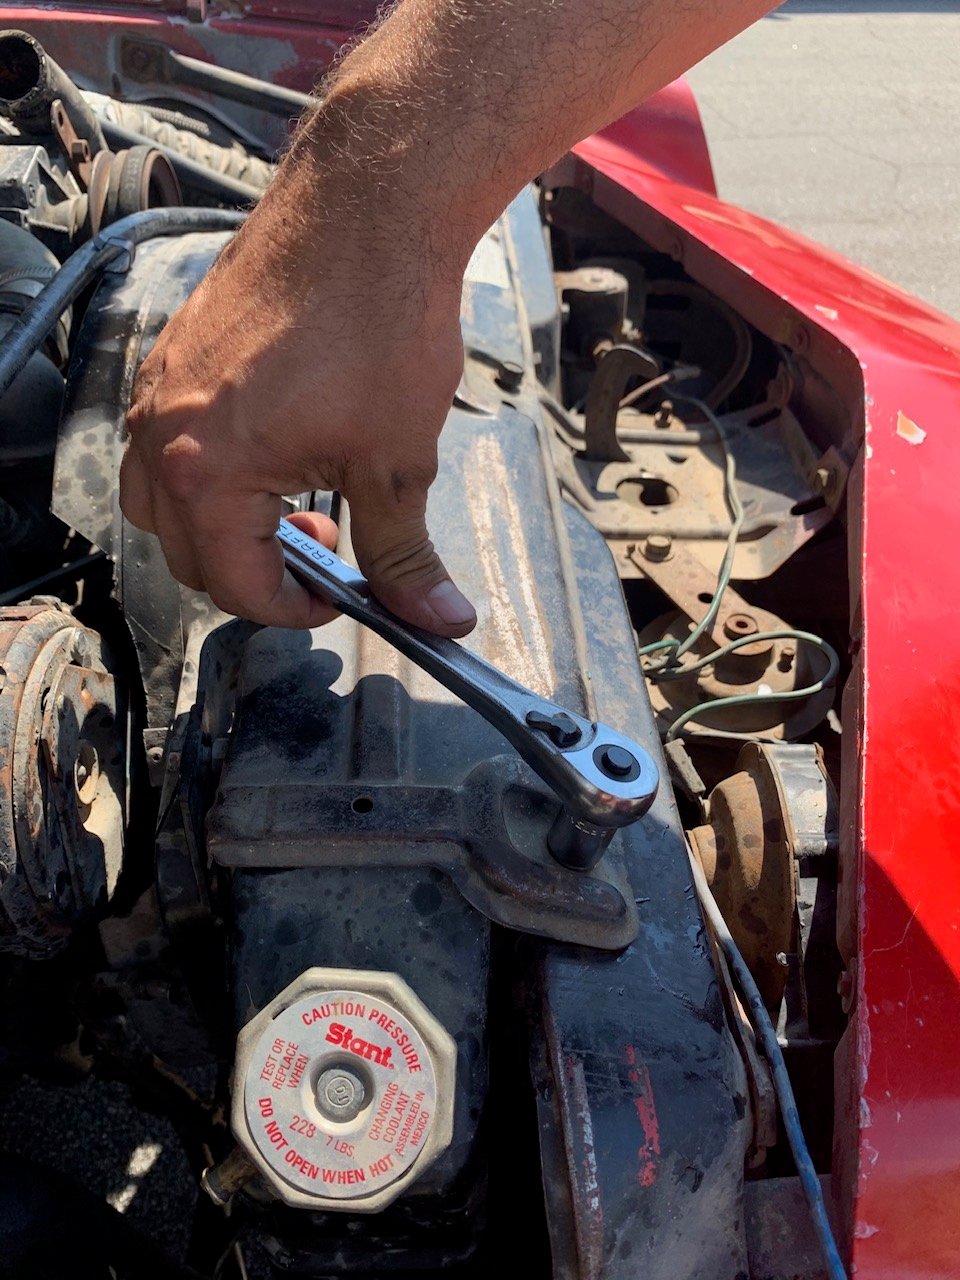
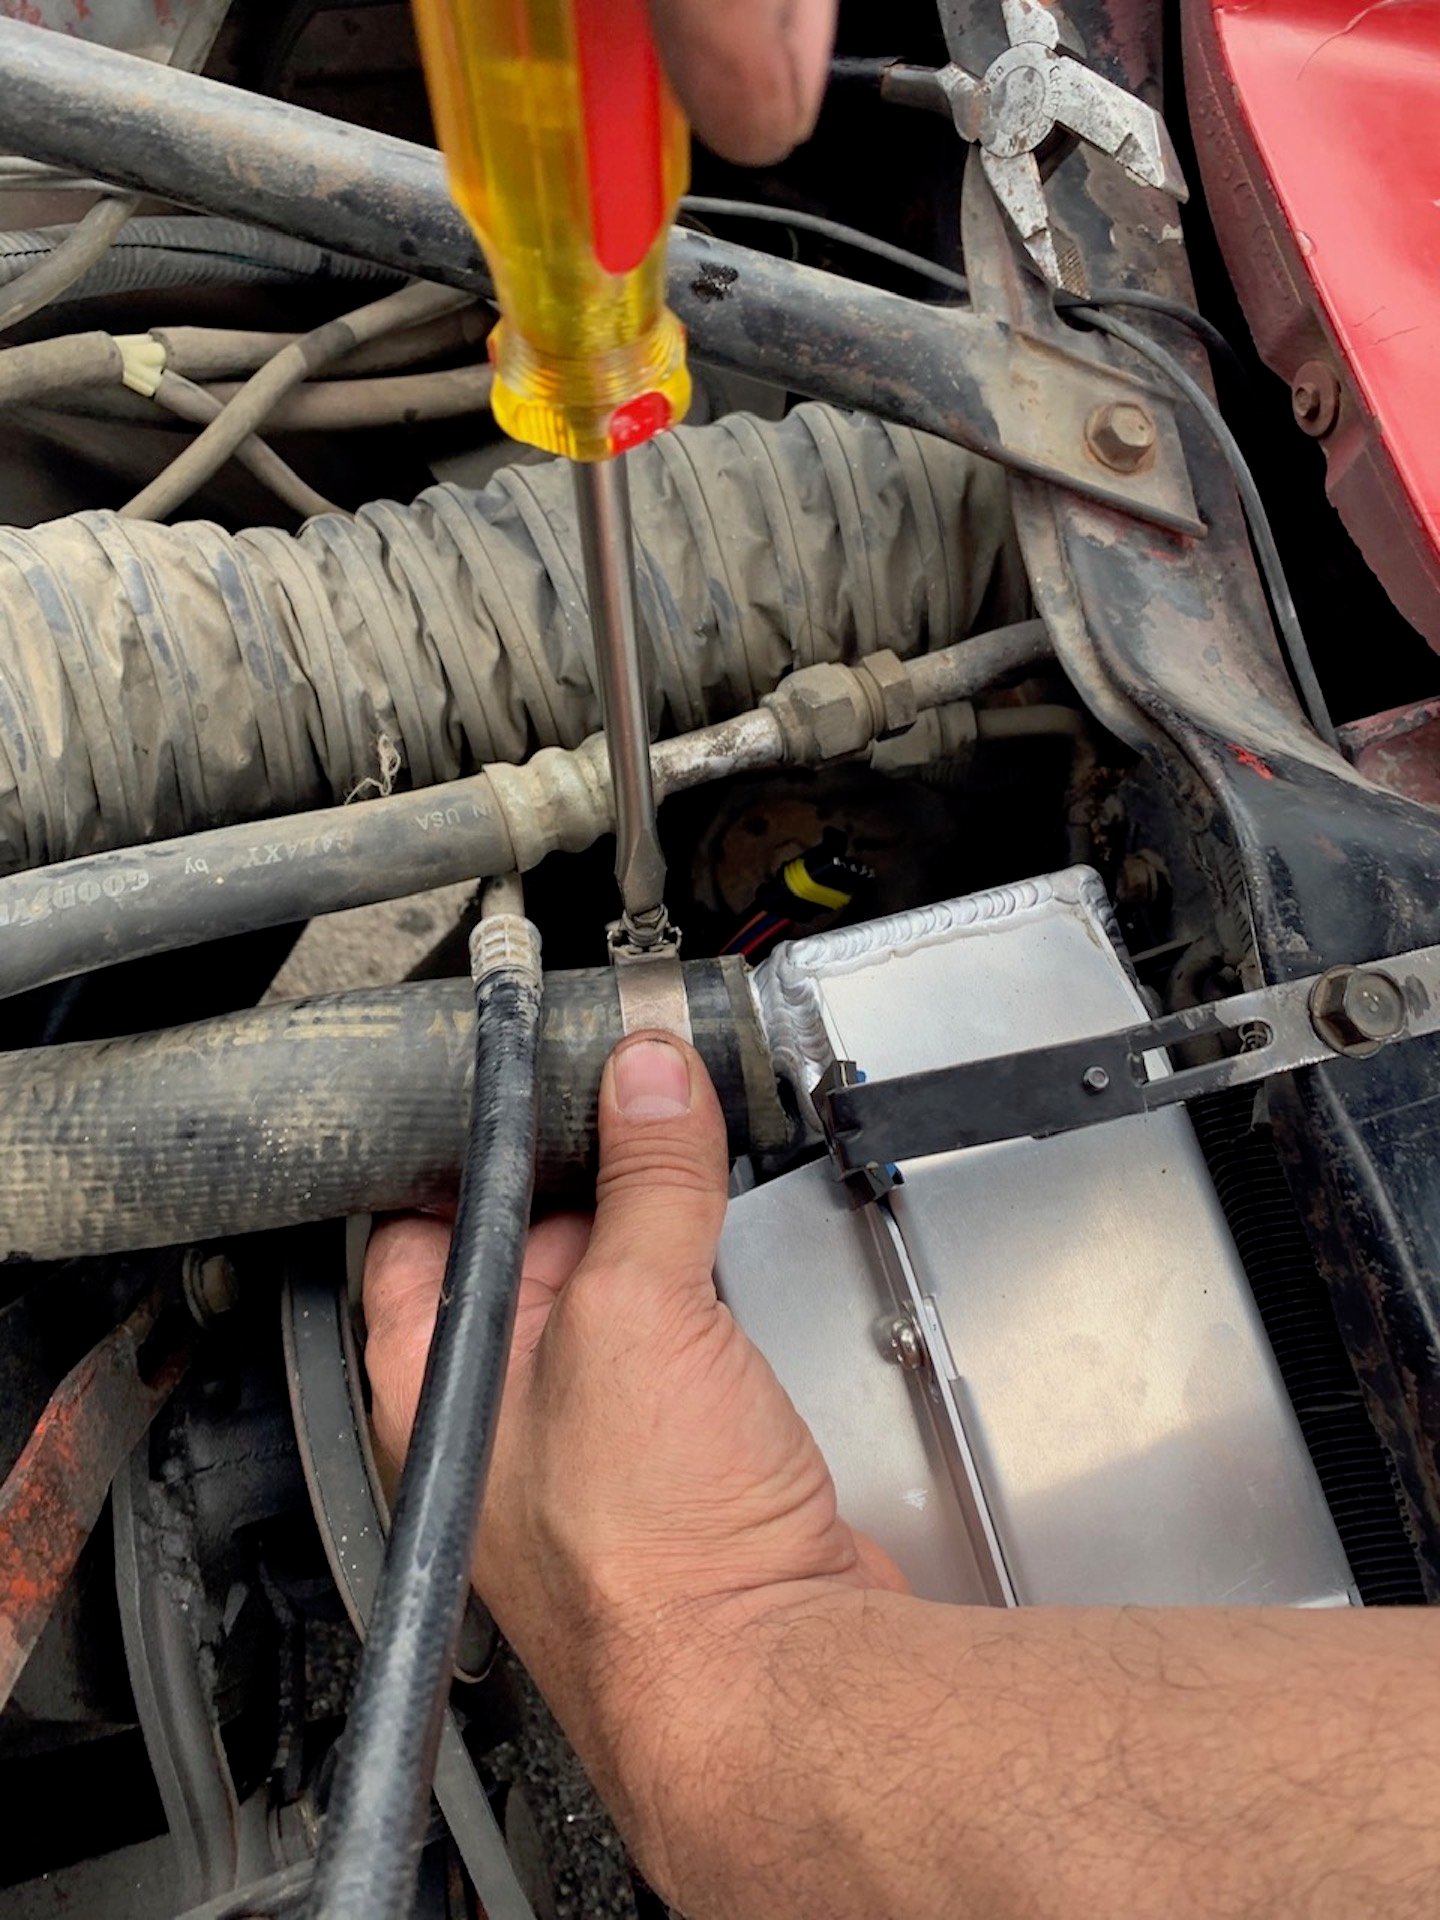
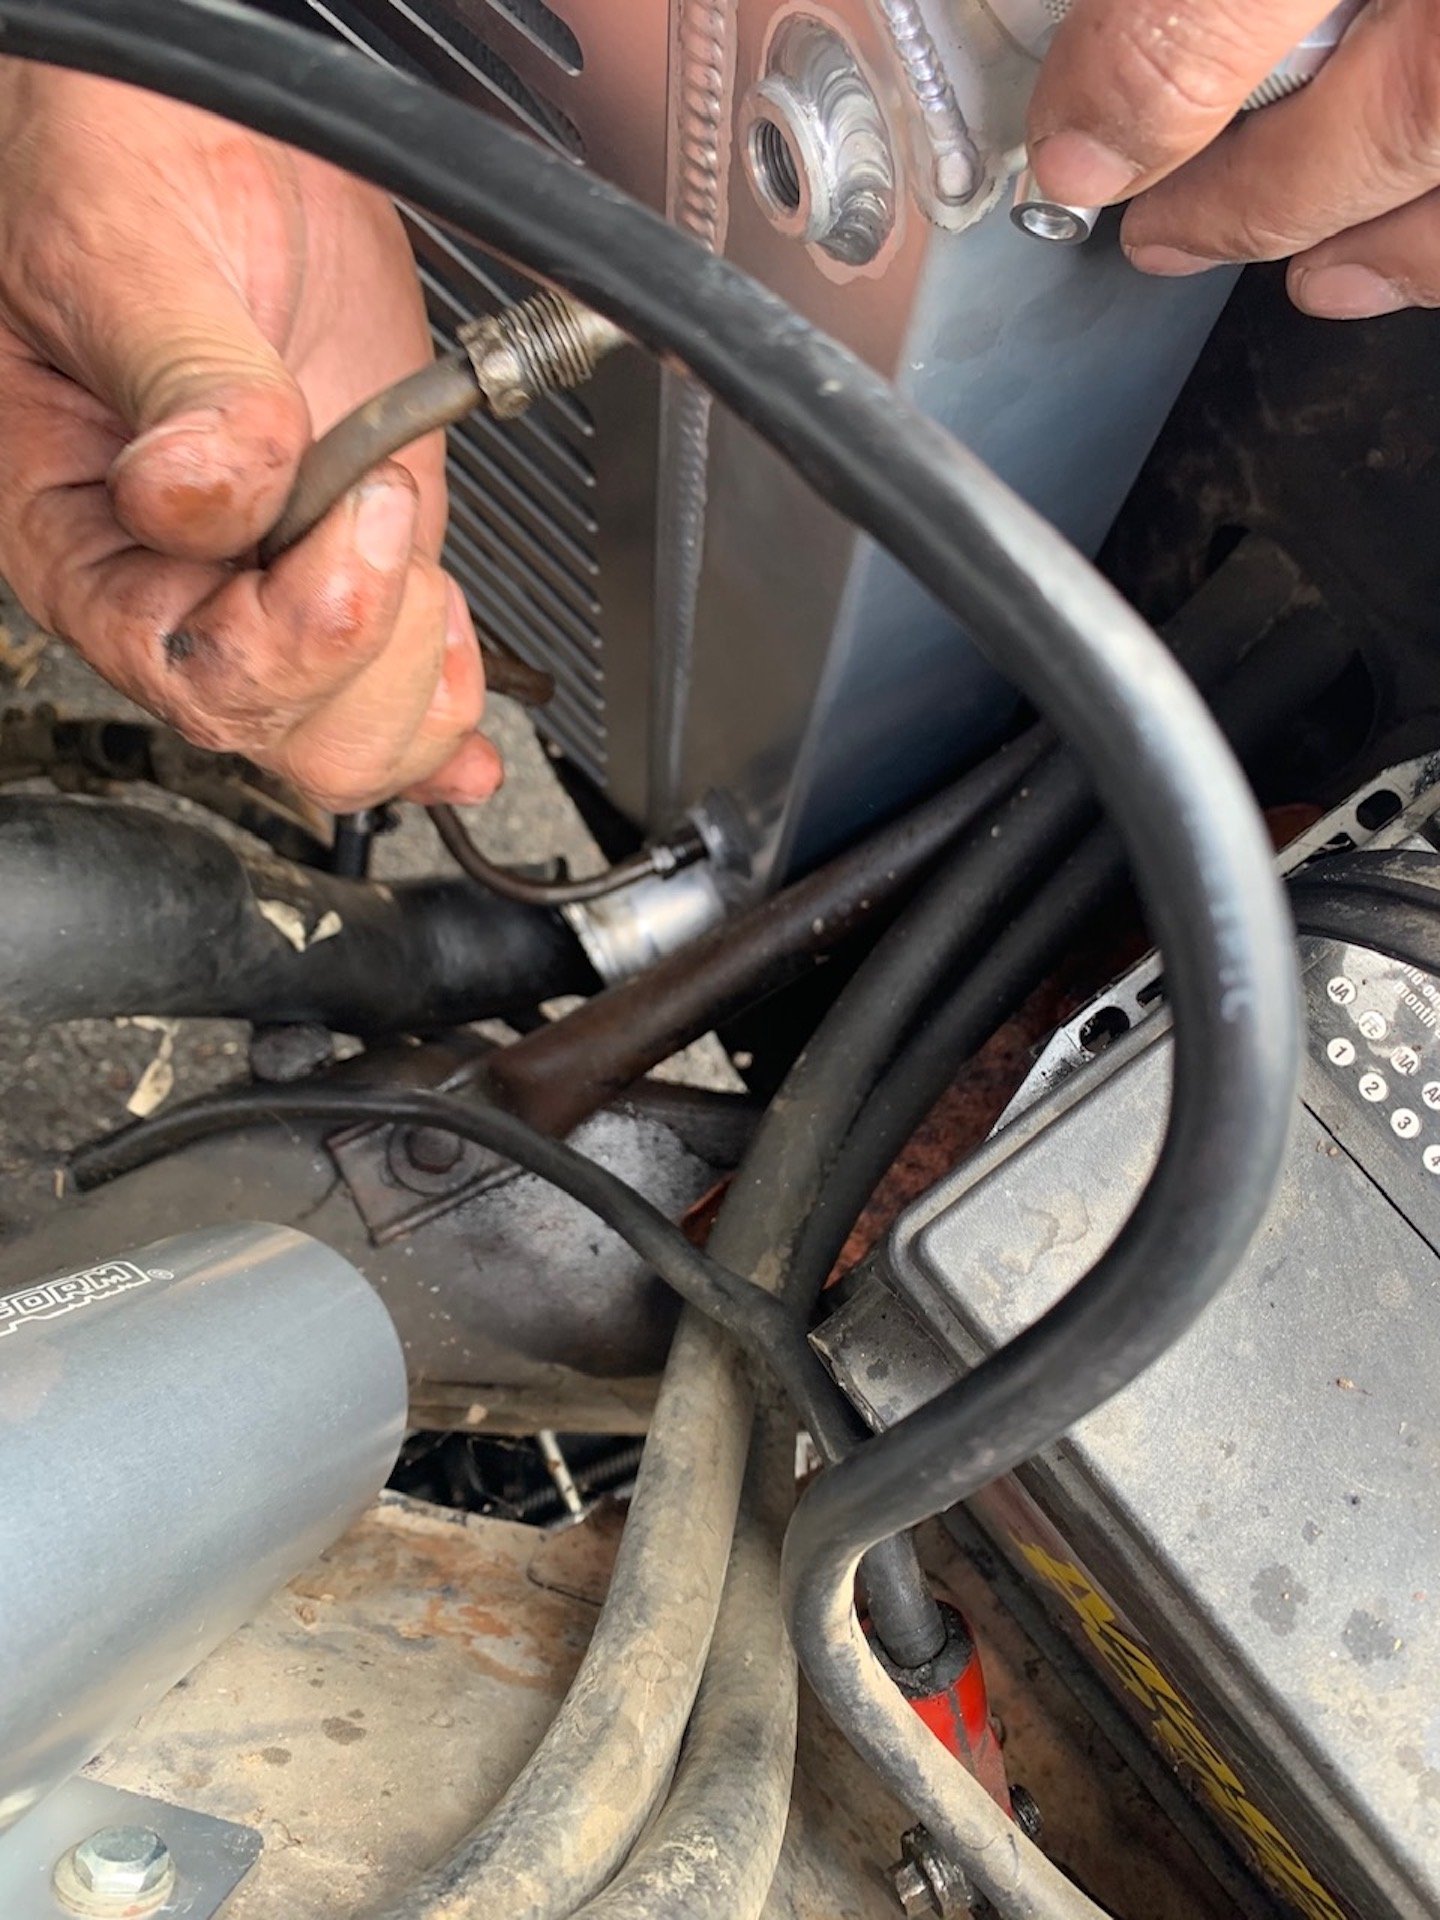
Next, we reattached the hoses to the radiator. While we were at it, we reattached the transmission lines as well. Unfortunately, I didn’t know what a flare wrench was and you can see I rounded the head using a standard box-end wrench. Lesson well learned. Lastly, we attached the hose from the overflow tank to the radiator.
Wiring The Fans
Next is what I found to be the most difficult part of the project – the wiring. Most wires under my hood were held together with duct tape and were covered in spiderwebs. One thing that I would highly recommend for the job, is a wire tester. We used that to locate live wires that were necessary for the wiring portion of the project.
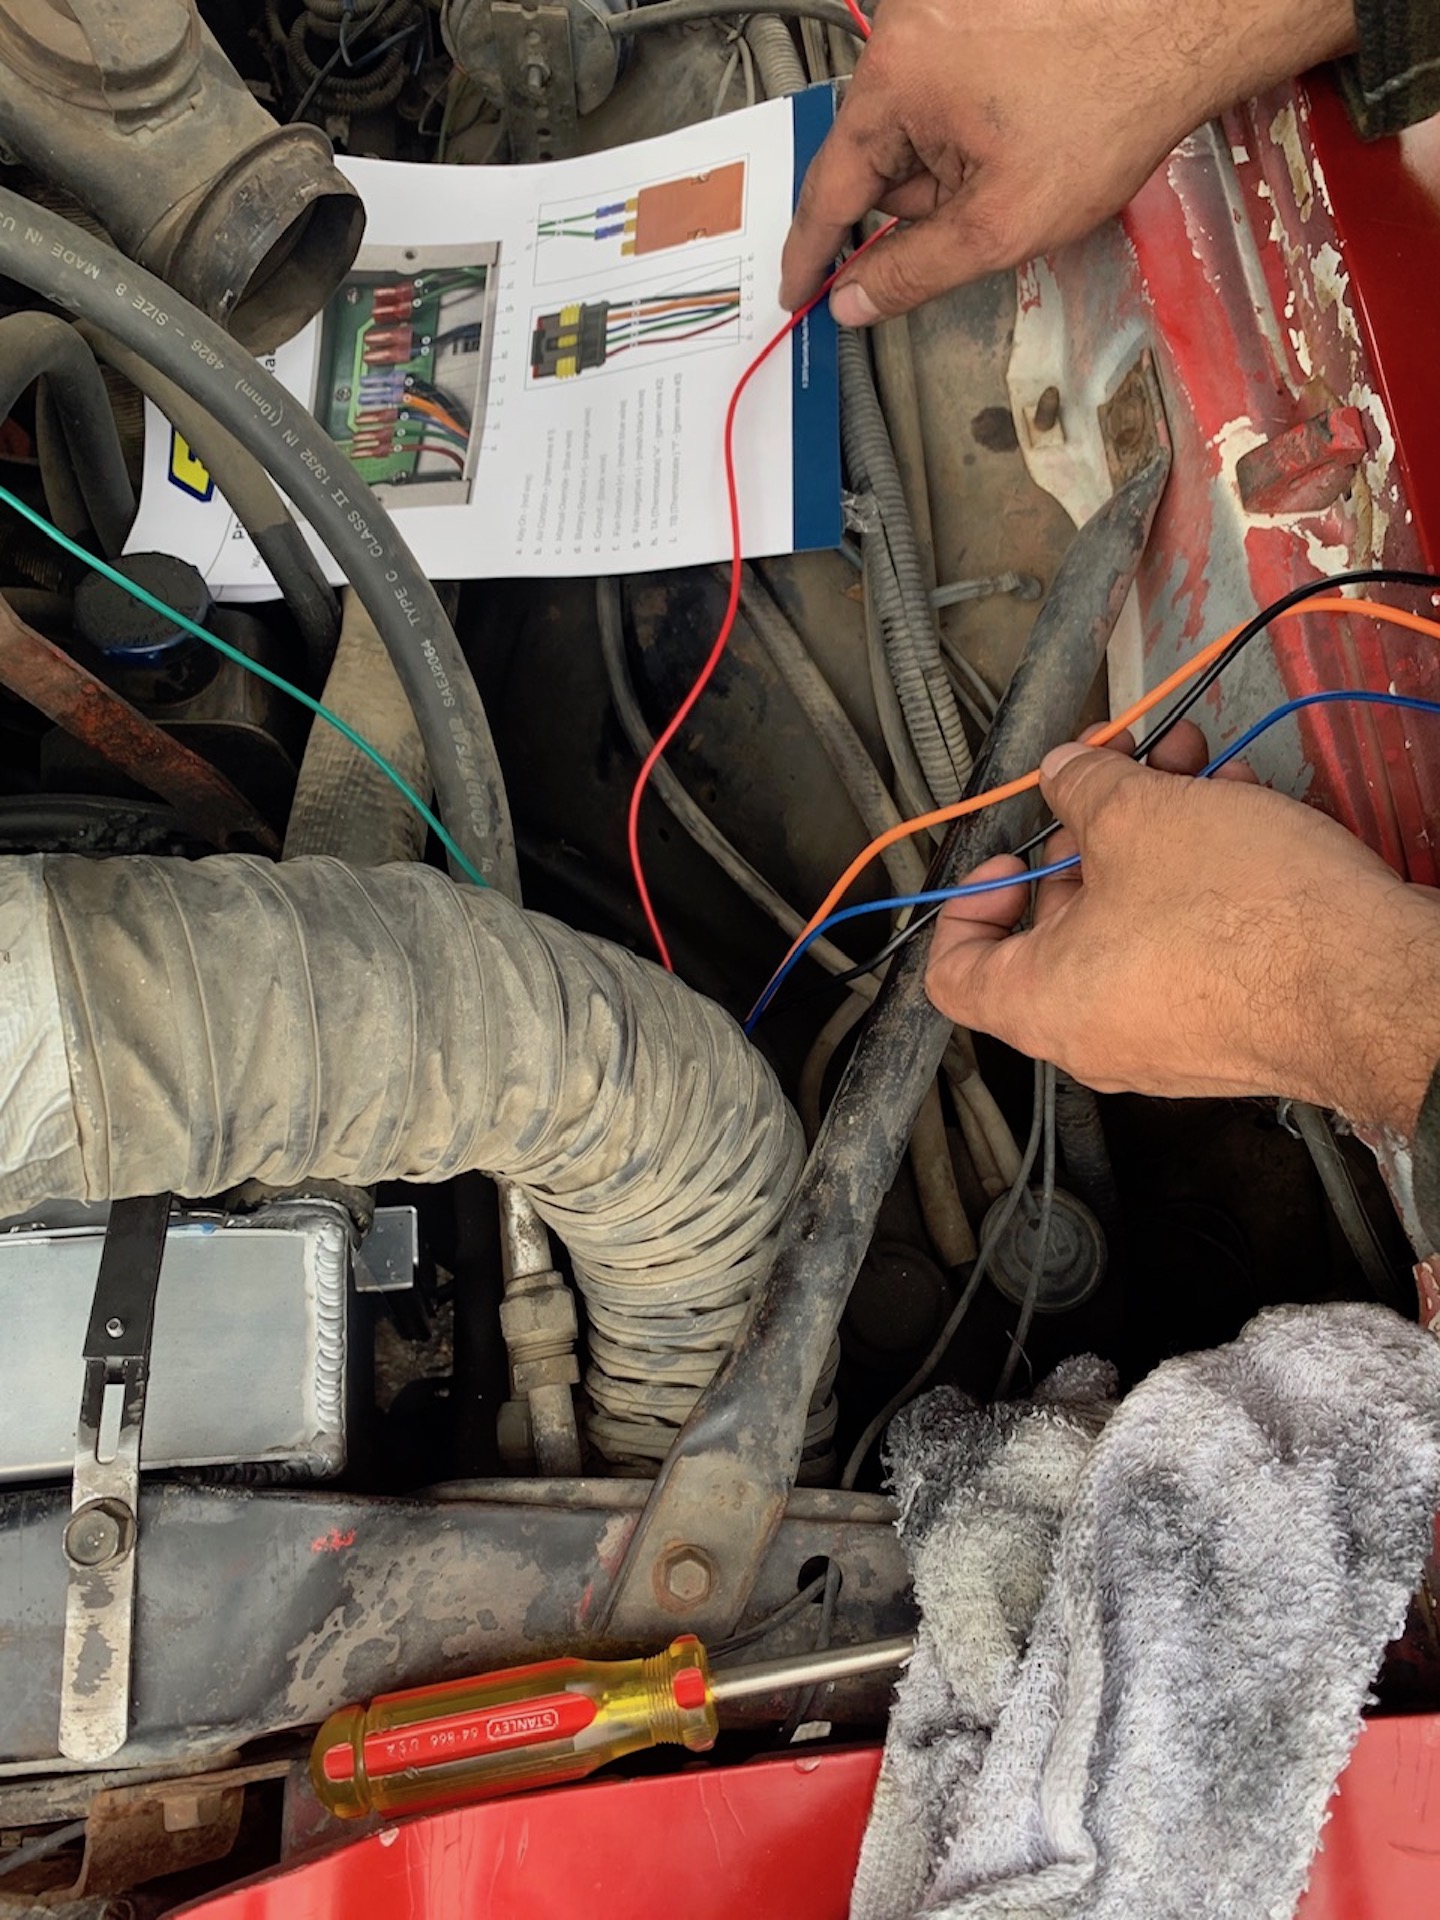
The instructions that come with the Proform Slim-Fit Radiator layout exactly what colored wires go where. We had to connect the orange power wire to the positive terminal on the battery, and the black ground wire to the negative terminal. The red wire connects to a keyed ignition power source and the blue wire is for a manual override option. We used a test light to find which wires we could use for our keyed-power source, and lastly, we connected the green wires to the thermostat which control when the fans come on.
Testing
We were almost done! All that was left, was to test everything out. We filled the radiator with water to test for any leaks. I flipped the override switch and was ecstatic to see the fan turn on right away! As the car ran, I was happy to see no leaks and the fan kicking in when it was supposed to. After the initial test, we zip-tied our wires for a cleaner look and replaced the water with the proper amount of 50/50 antifreeze coolant.
 The Proform Slim-Fit radiator has made not only a visually significant difference in the car but also a much-needed upgrade in performance as well. I no longer have to worry about the car overheating, and the added space in the engine bay gives me the ability to upgrade to that LS in the future.
The whole project took about three hours, with the bulk of the time being spent wiring. The radiator removal and installation were very easy. I would say that this was a beginner/intermediate project, and if you have someone with basic mechanic knowledge helping, it is a fun and gratifying first project. Working on this project has given me the confidence to tackle other tasks. Things as small as changing my oil, or refilling my transmission fluid were impossible feats. But now, I can maneuver my way around an engine.
Even though the summer months are brutally hot, I now have no worries of overheating!